
最近在臉書上常常滑到Google Cloud Platform的廣告,得知Google很大方地贈送300美元和一年份的使用額度給所有人試用,今天就花了一整天的時間來熟悉它的操作。事實上它的應用層面非常的廣,感覺在上面架私服也是可行的。總之,由於我還是不斷地在為本站尋找速度夠快的新家,當然不能錯過在台灣彰化就有機房的Google囉!
申請Google Cloud Platform教學:
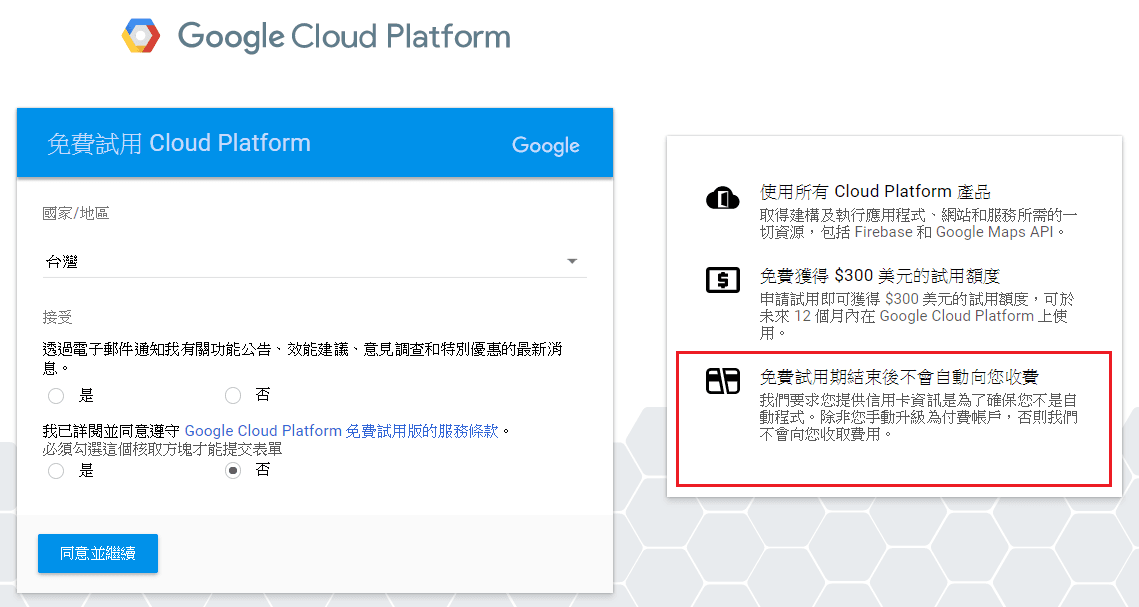
第1步 來到 Google Cloud Platform 申請頁面,以Google帳戶登入,首先要填的是國家,按下同意並繼續。等會要準備一張信用卡,不過目前都還不會扣款,即使額度通通用完、一年也結束了,也要你再手動確認付款才會扣,可以看到紅框處的說明。
第2步 信用卡就老老實實的填上去吧!不過不知道為什麼,前陣子辦的郵局VISA金融卡沒辦法通過,改用另一張台新的MasterCard就可以了。

第3步 再次強調,不必擔心Google會亂幫你扣錢啦!
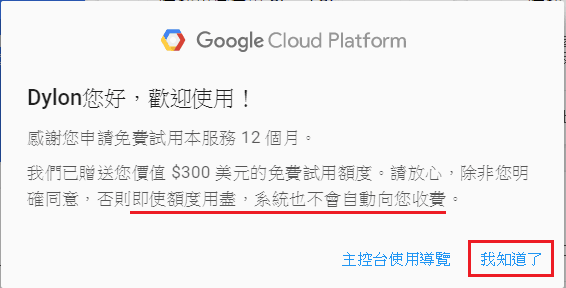
以上,Google Cloud Platform的帳號就申請完畢了,接下來再看看如何在上面架設WP呢?
Google Cloud Platform 架設WordPress部落格教學:
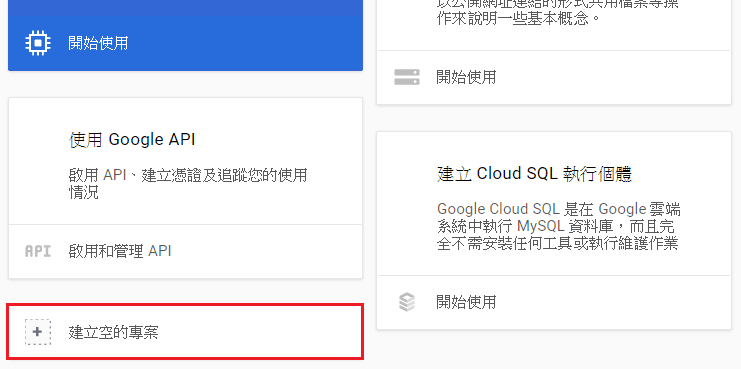
第1步 帳號開通後,找到並點擊首頁的「建立空的專案」。
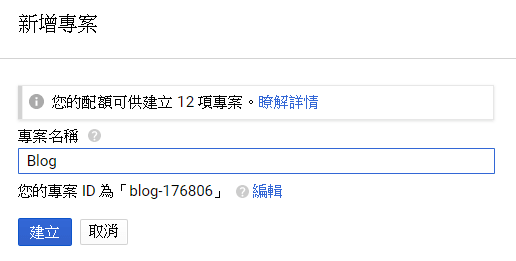
第2步 隨意輸入一個喜歡的名稱就可以了。
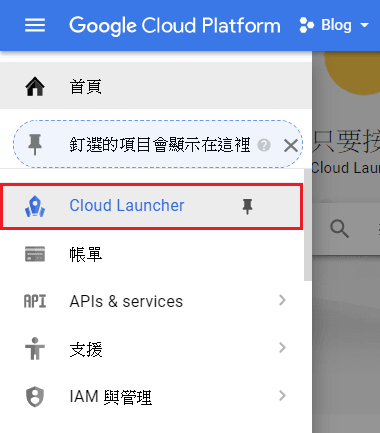
第3步 點選左側的選單,再點「Cloud Launcher」。
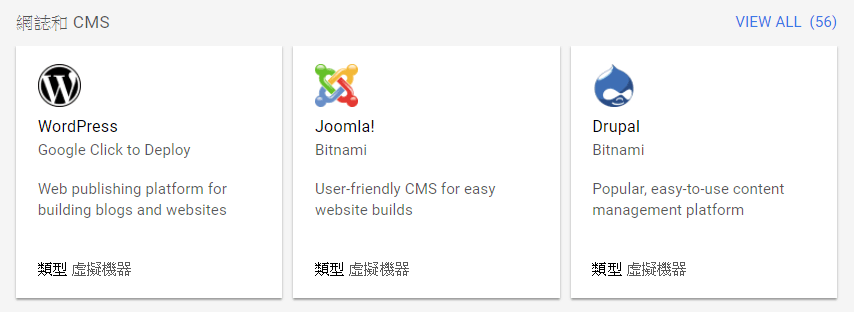
第4步 這邊有五花八門的套件可以使用,從各式各樣的作業系統、內容管理到網誌都應有盡有。
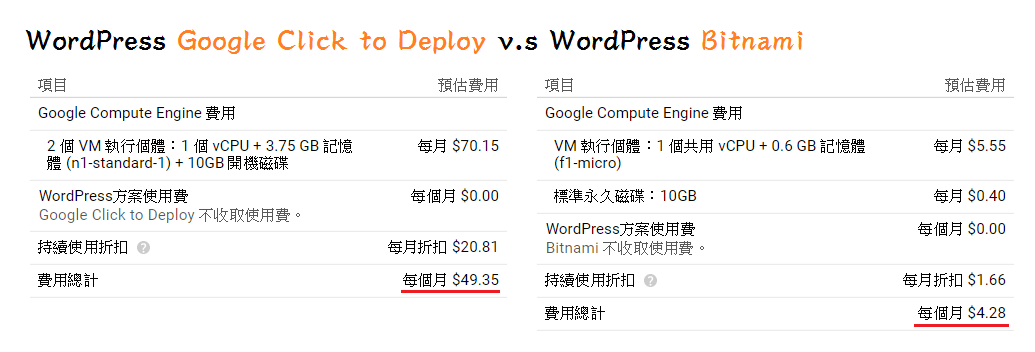
第5步 光是WordPress就有非常多種版本,最常被大家使用的是Bitnami提供的WP,下方可以看到它和Google Click to Display價錢上的差異:
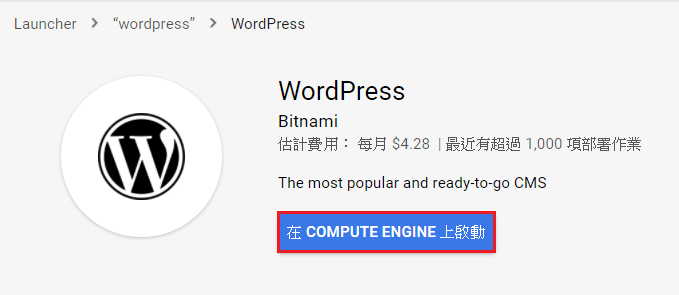
第6步 這邊我們也以便宜許多的Bitnami來建立,在剛剛的畫面搜尋「WordPress」並找到Bitnami版,點進來按下「在Compute Engine上啟動」。
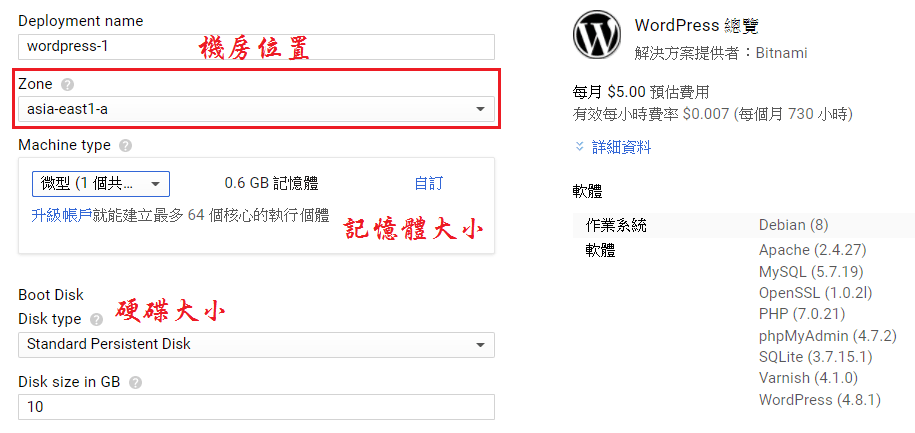
第7步 接著可以調整機房的位置、記憶體大小及硬碟的空間,價格也會相對有所改變,非常彈性。
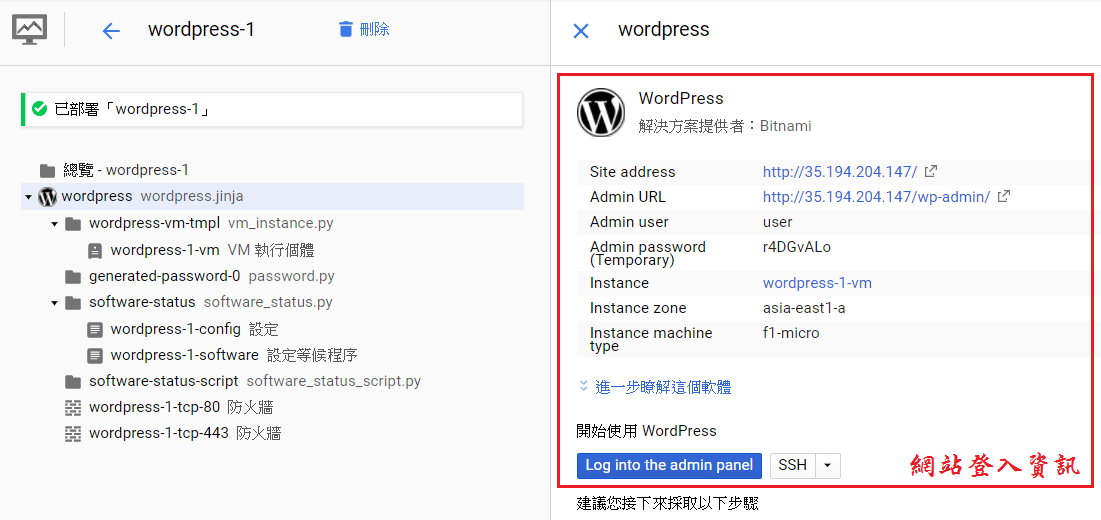
第8步 按下「部屬」後,稍待一段時間就會看到紅框處的登入資訊,現在你已經可以從被分配到的IP位置進入網頁或登入後台囉!
第9步 速度非常的快,載入的延遲比Dreamhost虛擬主機明顯低上許多,不過這也是理所當然的。

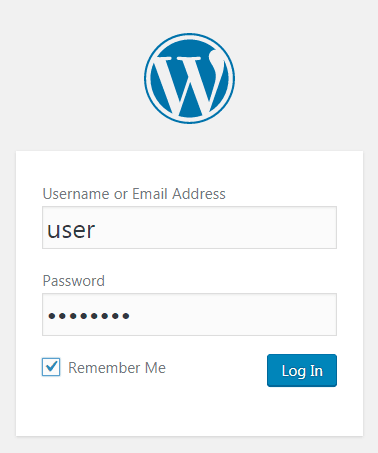
第10步 第一件事就是登入後台,使用者名稱和密碼也在剛剛的登入資訊中。
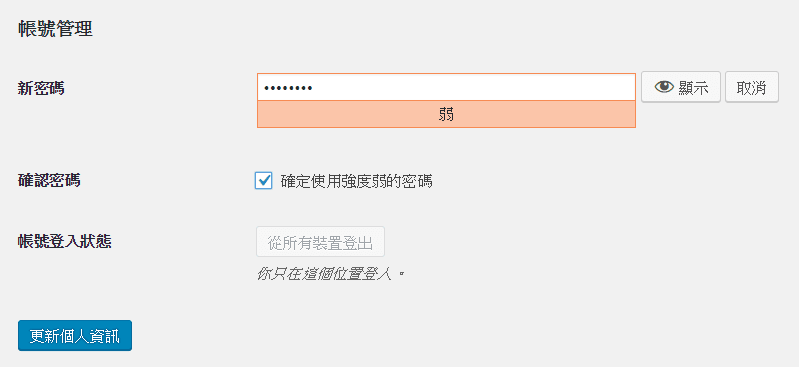
第11步 趕快先把密碼改成自己記的得的,免得等下不小心關了網頁就不知道去哪裡找了。除此之外,在「Settings」裡面也能將語言直接切換為繁體中文。
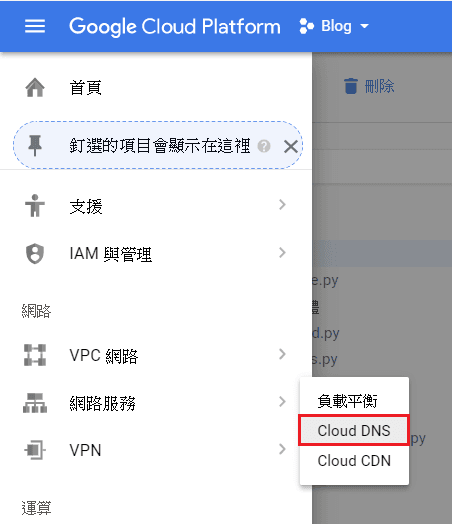
第12步 最後一部份了!現在我們要將已有的網域指向這個IP,這樣才可以讓使用者透過原本的網址進到你的部落格,而不是一串記不起來又醜醜的IP。點左側選單的網路服務→Cloud DNS。
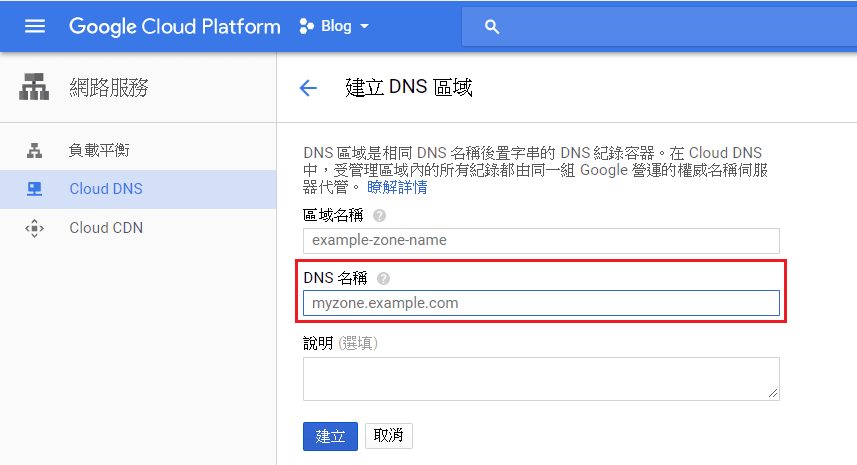
第13步 在「DNS名稱」中輸入你的網域,並到網域註冊商那邊將DNS紀錄加入一筆A,指向這個IP即可。
這下就大功告成啦!可以好好享受Google Cloud帶來飛快的速度了。

同樣無法使用郵局visa,明明刷淘寶時都沒問題。
你好,想請問一下帳單設定的部分….我用郵局VISA行不通…這是這正常的嗎@@?
(PS.有開通國外及線上交易)
還是想請問有沒有其他會過的信用卡? 真的很想趕快用這個平台QQ~~~
您好,我當時好像確實也無法使用郵局的VISA卡,後來是跟我爸爸借應該是台新銀行的信用卡才成功的
我也用不到郵局visa.
對的,郵局visa會莫名其妙無法使用,如果沒有其他卡的話可能就要找朋友或家人借一下了,不會有費用產生的
您好,謝謝分享好物。有個問題請教:
在第12步 Cloud DNS,我點選之後卻出現"無法載入"的畫面,並沒有第13步的畫面,請問這是什麼原因造成的呢?
抱歉自問自答一下…
原來沒有開啟Cloud DNS API,只要開啟這功能就可以建立DNS了,謝謝!
不客氣不客氣,很高興您能成功解決問題!
GCP還處於常常改動的狀態,介面有可能會和文章的略有不同;)
不錯
原本想推薦你GCE的
尤其最低方案150NTD就解決了
GCE是什麼呢!!我還在找一個適合的落腳處xD
就是google cloud engine
gae 的後代google app engine
gce連想都不用想就是了,畢竟連amazon都沒有台灣的機房
就算有也沒有10ms的品質
原來如此,感謝你的消息!回國後可能還是暫時遷到Google Cloud Platform去,現在的速度實在不太OK